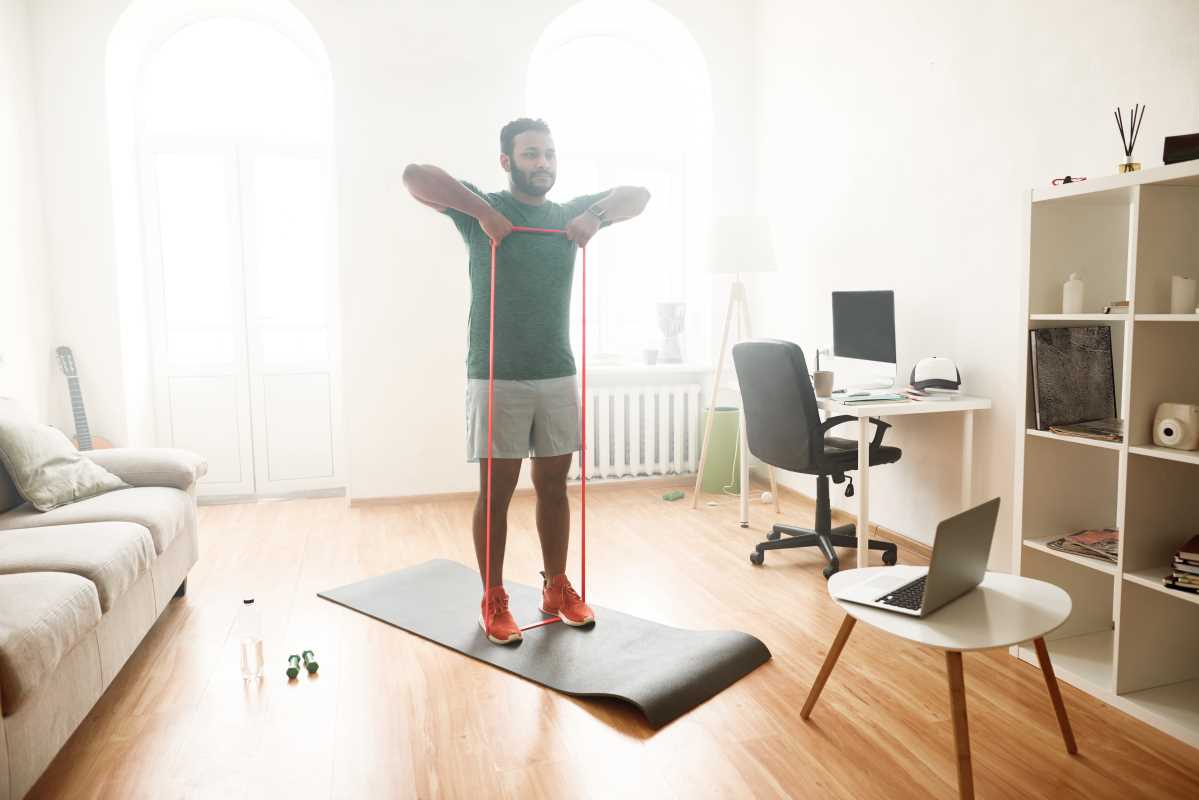
Resistance bands are one of the most versatile and affordable tools for fitness enthusiasts looking to build strength, increase flexibility, and improve overall fitness—all from the comfort of home. These simple yet effective tools can replace bulky gym equipment, making it possible to achieve a full-body workout without needing an expensive or space-consuming setup. Compact and lightweight, resistance bands are perfect for anyone who wants to stay fit while on the go, offering a portable option you can use at home, in a hotel room, or even outdoors.
One of the standout qualities of resistance bands is their adaptability. They cater to a range of fitness levels, from beginners just starting their fitness journeys to advanced athletes looking for new ways to challenge their muscles. They come in varying levels of resistance—light, medium, heavy, and extra-heavy—so you can easily adjust the intensity of your workouts to match your goals. Whether you want to increase muscle tone, improve endurance, or enhance flexibility, resistance bands have you covered.
Another key feature is their ability to effectively target specific muscle groups. From building upper-body strength with band rows to sculpting glutes with lateral walks, resistance bands offer endless variety, preventing boredom and keeping your workouts fresh. Their joint-friendly design also minimizes the risk of injury, making them an excellent choice for those rehabbing injuries or seeking low-impact options. Whatever your fitness goals may be, resistance bands provide an incredibly effective, customizable, and affordable solution.
If you’re ready to make the most of these powerful tools, here’s a step-by-step guide to building your own custom home workout routine using resistance bands.
Why Resistance Bands Are Ideal for Home Workouts
Before we jump into the planning process, it’s essential to understand why resistance bands are perfect for home fitness:
- Affordable and Portable: Compared to traditional weights, resistance bands are far more budget-friendly and portable—which means you can take your workouts anywhere.
- Joint-Friendly: They offer smooth, controlled resistance, reducing the risk of injury and making them an excellent option for people with joint issues.
- Versatile: Resistance bands can target every muscle group and even mimic compound movements, from squats and presses to rows.
- Customizable Resistance Levels: Bands come in various resistance levels, allowing you to easily adjust the intensity of your workouts.
- Functional Strength: They engage stabilizing muscles and improve coordination, which translates to better performance in day-to-day activities.
Clearly, resistance bands are a practical choice for home fitness. Now, let's learn how to create a personalized routine with them.
Choosing the Right Resistance Bands
Not all resistance bands are created equal, so it’s crucial to find ones that align with your fitness level and goals. Here are the main types of bands to consider:
- Loop Bands: Large, continuous loops that are great for lower body exercises, such as squats and lateral band walks.
- Tube Bands with Handles: These resemble traditional gym equipment and are perfect for upper body exercises, such as bicep curls and chest presses.
- Mini Bands: Smaller loops used for mobility work, warm-ups, or activating muscles (like glutes and hips).
- Flat Resistance Bands: Flat, ribbon-like bands ideal for rehabilitation or stretching, making them great for beginners or mobility work.
It’s a good idea to purchase a set with multiple resistance levels (light, medium, heavy, and extra-heavy) so you can increase or decrease resistance as needed. Test the bands to ensure they’re durable and comfortable to use.
Building Your Home Workout Routine
When designing a custom resistance band workout, the goal is to balance exercises that target different muscle groups. Here’s how to structure your workout:
Step 1: Warm-Up with Dynamic Movements
A proper warm-up prepares your muscles and joints for exercise, reducing the risk of injury. Spend 5–10 minutes on dynamic stretches and movements to get blood flowing. You can incorporate light resistance, such as:
Band-assisted Arm Circles: Loop the band around your hands and perform arm circles to loosen the shoulders.
Leg Kickbacks with a Mini Band: Use a mini band around your thighs to activate your glutes.
Step 2: Create a Balanced Routine
A well-rounded workout includes exercises for the upper body, lower body, and core. Consider the following recommended exercises:
Upper Body
Band Pull-Aparts (Back and Shoulders):
Hold the band at shoulder height and pull it apart, keeping your arms straight.
Targets rear deltoids and postural muscles.
Bicep Curls (Biceps):
Stand on the band, holding a handle or end in each hand. Curl your hands toward your shoulders.
Overhead Press (Shoulders):
Anchor the band under your feet, hold the ends at shoulder height, and push upward.
Seated Row (Back):
Sit with your legs extended, loop the band around your feet, and pull toward your chest as if rowing.
Lower Body
Band Squats (Quads and Glutes):
Place a loop band just above your knees, stand with feet shoulder-width apart, and squat while keeping tension on the band.
Lateral Band Walks (Glutes and Hips):
Step side to side with a loop band around your thighs to strengthen glutes and hips.
Glute Bridges (Glutes and Hamstrings):
Place a mini band above your knees, lie flat, feet hip-width apart, and lift your hips toward the ceiling.
Leg Press with a Band (Quads):
Sit with your legs extended, the band looped around your feet, and press your legs forward against the resistance.
Core
Band Woodchoppers (Obliques):
Anchor the band on a door or stable surface, stand sideways, and pull the band diagonally across your body.
Plank with Band Rows (Entire Core):
Get into a plank, hold a resistance band in one hand, and pull it toward your chest while balancing.
Banded Dead Bug (Abs):
Lie on your back, loop the band around your feet, and extend one leg while keeping the other still.
Step 3: Adjust Intensity and Progression
Progression is key to continuously challenging your muscles. Here’s how to adjust intensity:
Change Band Resistance: Move up to a heavier band as you grow stronger.
Increase Reps or Sets: Start with 10–12 reps per exercise for 2–3 sets. Gradually work your way up to 15–20 reps or 3–4 sets.
Slow Down: Perform exercises slowly to increase time under tension and make them more challenging.
Step 4: Cool Down
Wrap up your workout with a 5–10 minute stretch session to improve flexibility and relax your muscles. Use a flat resistance band for stretches like hamstring pulls or shoulder openers.
Tips for Staying Motivated and Tracking Progress
Sticking to a home workout routine takes discipline, but these tips can keep you on track:
Set Clear Goals: Decide whether your focus is strength, endurance, or toning, and tailor your exercises accordingly.
Stay Consistent: Aim for 3–5 sessions per week to achieve optimal results.
Track Progress: Maintain a log of your exercises, resistance levels, and reps. Over time, you’ll see how far you’ve come.
Mix It Up: Prevent boredom and plateaus by rotating new exercises or including intervals of cardio between sets.
Celebrate Milestones: Reward yourself for progress—whether it’s completing extra reps or moving up to a heavier band.
Resistance bands are an exceptional tool for crafting a personalized home workout routine that’s both effective and adaptable. With the right exercises, progression strategies, and consistent effort, you’ll build strength, improve mobility, and achieve your fitness goals—all without leaving your home. Remember, the key is to listen to your body, stay consistent, and enjoy the process of becoming stronger and more confident each day!


